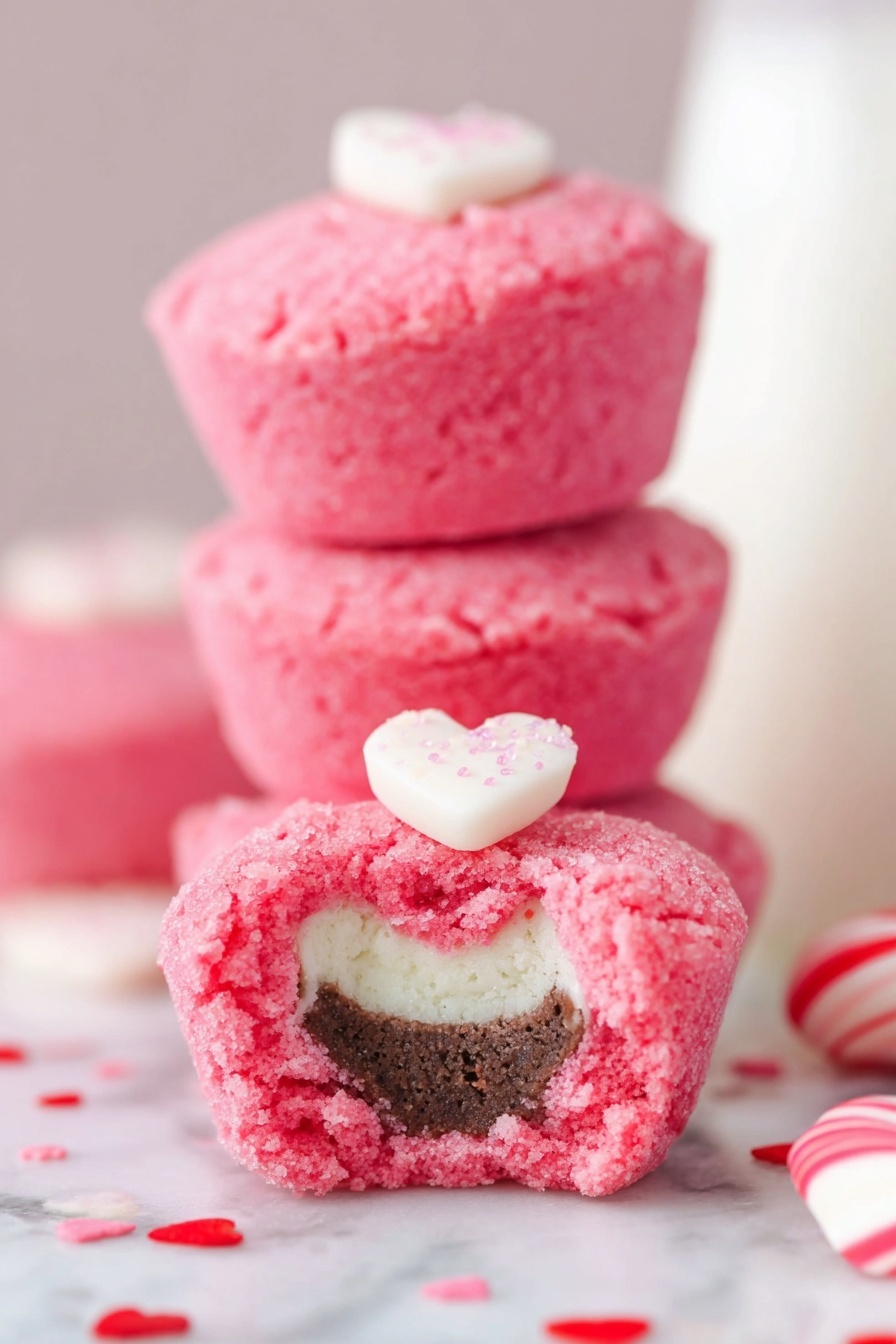
There’s nothing quite like a sweet little surprise baked right inside a cookie, and that’s exactly why I adore this Valentine’s Day Cookie Cups with Hershey’s Hugs Recipe. Soft, chewy sugar cookies meet a melty chocolate kiss center—perfect for sharing love one bite at a time.

Jump to:
Why You'll Love This Recipe
I’ve made this treat more times than I can count, especially around Valentine’s Day when every kitchen deserves a little extra sweetness. The way these cookie cups cradle a Hershey’s Hug inside just feels like giving a hug you can eat—warm, comforting, and utterly delicious.
- Simple to make: Uses a sugar cookie mix and just a handful of pantry staples for easy prep.
- Bite-sized fun: Perfectly portioned mini cookie cups are great for parties or gifting.
- Irresistible surprise inside: Hershey’s Hugs melt to creamy centers that add a delightful chocolate touch.
- Festive and customizable: Use your favorite pink, red, or heart-shaped sprinkles for a cute holiday vibe.
Ingredients & Why They Work
This recipe uses simple, easy-to-find ingredients that work together to create a soft, chewy cookie base that’s sturdy enough to hold the melty Hershey’s Hug inside without losing its shape. Shopping tip: choose a good-quality sugar cookie mix and fresh eggs for the best texture!
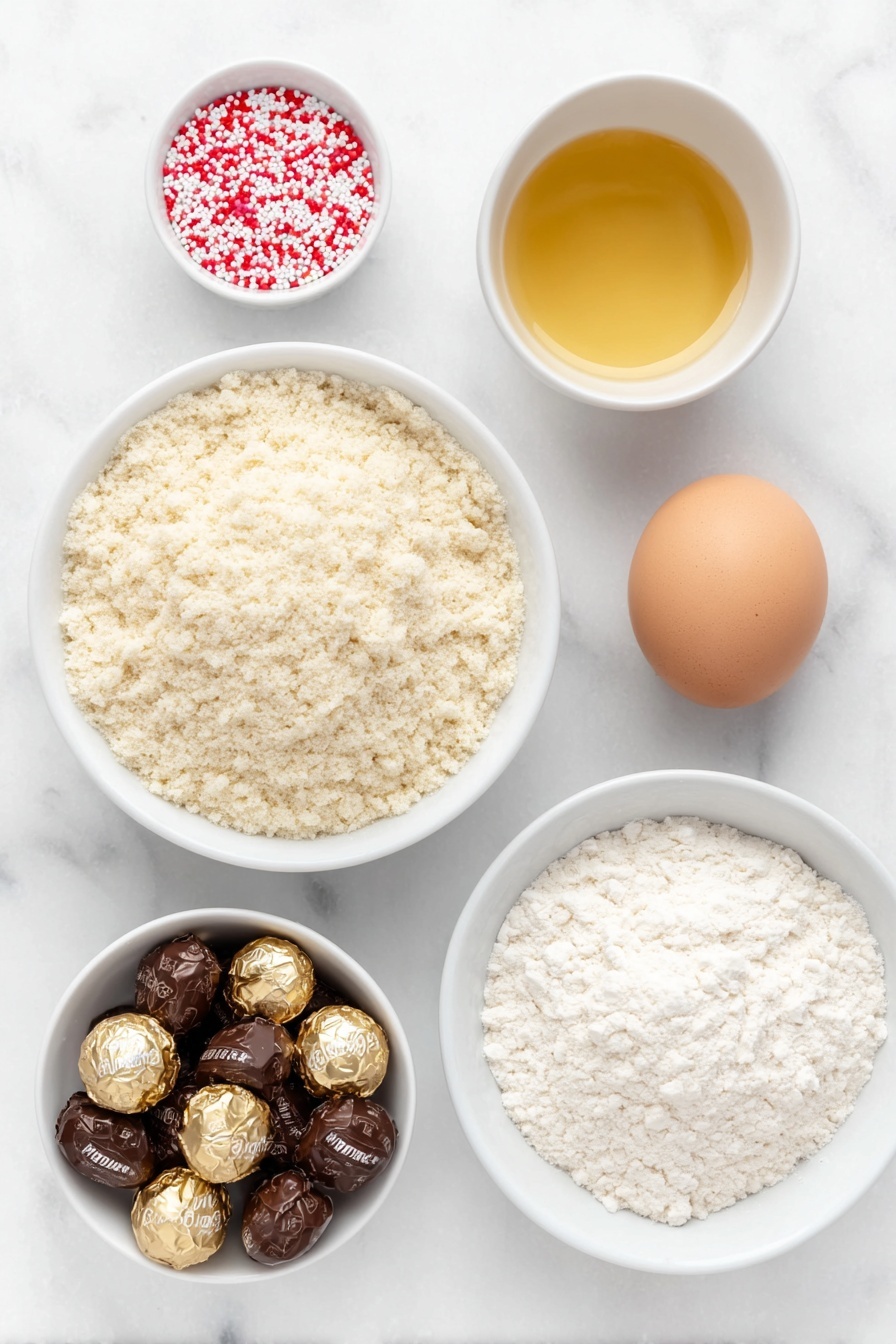
- Sugar cookie mix: The base for our cookies — quick and foolproof, it helps keep things simple in the kitchen.
- Salted butter: Adds richness and moisture, plus that slight salt balance to sweeten the overall flavor.
- All-purpose flour: Helps firm up the dough so your cookie cups hold their shape around the chocolate.
- Large egg: Binds the dough and adds a tender texture.
- Pink/red food coloring: For that perfect Valentine’s Day pop of color — or customize for any celebration!
- Hershey’s Hugs: The star of the show. Their creamy white and milk chocolate blend melts beautifully inside the cookies.
- Decorative sprinkles: Totally optional but super fun for adding personality and a festive flair to your cookie cups.
Make It Your Way
One of the best things about Valentine’s Day Cookie Cups with Hershey’s Hugs Recipe is how easy it is to add your own personal twist. Whether you want to try different colors, flavors, or toppings, these cookie cups are a fun canvas for your creativity!
- Chocolate Chip Twist: I love adding mini chocolate chips to the cookie dough for an extra gooey hint of chocolate in every bite. It adds a nice contrast to the creamy Hershey’s Hugs center.
- Nutty Delight: Mixing finely chopped nuts like pecans or walnuts into the dough adds such a lovely crunch. Just be careful not to add too much or it can overpower the soft texture.
- Gluten-Free Version: For a gluten-free option, substitute the sugar cookie mix with your favorite gluten-free baking mix. The dough may feel a bit different but still works wonderfully to hug those sweet Hershey’s chocolates.
- Festive Flavors: Swap the pink/red food coloring for pastel shades if you’re making these for spring holidays or use peppermint extract for a holiday winter vibe.
Step-by-Step: How I Make Valentine’s Day Cookie Cups with Hershey’s Hugs Recipe
Step 1: Prepare Your Workspace and Oven
Start by spraying your mini cupcake pan with cooking spray to ensure the cookie cups release easily after baking. Preheat your oven to 350 degrees Fahrenheit so it’s ready to go when you finish prepping the dough. This step helps make the baking smooth and efficient.
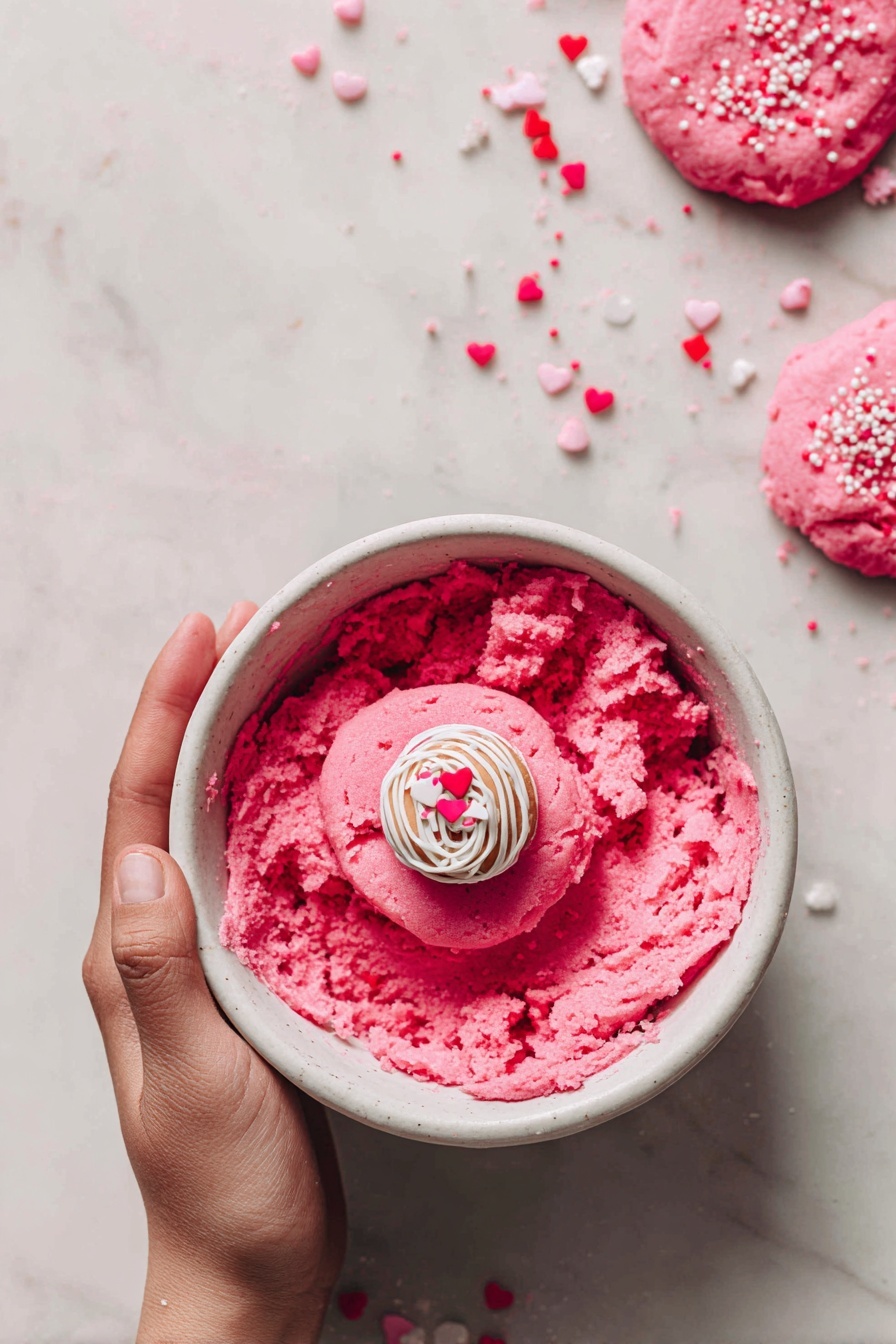
Step 2: Mix the Cookie Dough
In a large bowl, combine the 17.5-ounce package of sugar cookie mix, ½ cup of melted salted butter, 3 tablespoons of all-purpose flour, one large egg at room temperature, and your chosen amount of pink or red food coloring. Beat gently until all the ingredients just come together—you want a soft, cohesive dough. Adjust the food coloring bit by bit until you reach the exact shade you want—it’s your chance to get creative and festive!
Step 3: Shape and Fill Each Cookie Cup
Using about 1 tablespoon of dough at a time, flatten it into a disk roughly the size of your palm. Nestle one unwrapped Hershey’s Hug right in the center. Carefully wrap the dough around the chocolate, shaping it into a neat ball. Don’t worry if cracks appear—gently press and mold them away with your fingers so the chocolate is fully covered.
Step 4: Arrange Dough Balls in the Pan
Place each filled dough ball upright into the mini cupcake pan cavities. This keeps the chocolate tucked inside as it bakes and lets the cookie cups keep their charming shape. Repeat until you've used all of your dough and chocolates.
Step 5: Bake to Perfection
Bake the cookie cups in your preheated oven for 12 minutes. You’ll know they’re done when the edges appear set and have developed a light golden hue. The centers should remain soft and chewy, holding that lovely surprise inside.
Step 6: Add Your Decorative Touch
Pull the mini cupcake pan from the oven and immediately press decorative sprinkles onto the warm tops of the cookie cups. The warmth helps the sprinkles stick perfectly and adds a festive touch that’s just right for Valentine’s Day (or whatever occasion you’re celebrating).
Step 7: Cool and Enjoy
Let your Valentine’s Day Cookie Cups cool in the pan for about 15 minutes. This step is crucial because it helps the cookies set up fully and makes them easier to remove without breaking. Once cooled, pop them out and enjoy or package them up to share the love.
- Fixing Cracks: When wrapping the dough around the Hershey’s Hugs, don’t worry if cracks appear. Gently molding and pinching those cracks with your hands is the secret to perfectly sealed cookie cups that won’t leak chocolate.
- Cooling Patience: Allow the cookie cups to cool in the mini cupcake pan for the full 15 minutes before removing. This waiting time helps them set properly, so they hold their shape and don’t break apart.
- Sprinkle Application: Press decorative sprinkles onto the warm cookie cups immediately after baking. This little step ensures the sprinkles stick nicely and add that charming festive touch.
- Color Customization: Adjust the pink or red food coloring slowly to get just the shade you want. It’s easier to add more color than to fix dough that’s too dark!


Leave a Reply