If you're craving a bite-sized dessert that's utterly indulgent and oh-so-easy to make, you’re going to adore this Tiramisu Truffles with Espresso and Cacao Recipe. These creamy little gems capture all the lusciousness of classic tiramisu in a no-bake treat perfect for any occasion.

Jump to:
Why You'll Love This Recipe
I have to admit, these tiramisu-inspired truffles quickly became my go-to when I want something sweet but don’t want to fuss with a complicated dessert. The balance of the rich mascarpone, the bold espresso, and that familiar dusting of cacao powder? Absolute perfection!
- Effortless Elegance: No baking required—just mix, chill, and enjoy.
- Perfect Portion Size: Bite-sized truffles make sharing (or sneaking a few!) easy and guilt-free.
- Authentic Flavor: Uses real espresso and savoiardi biscuits for that classic tiramisu taste.
- Quick Chilling Time: Ready to eat in just 15 minutes prep plus an hour in the fridge.
Ingredients & Why They Work
Gathering the right ingredients is key to nailing these tiramisu truffles. Make sure you use quality mascarpone and fresh espresso for that authentic creamy and coffee-rich flavor. Here’s what you’ll need and why each element is important.

- Mascarpone Cheese: This rich Italian cream cheese provides the creamy, silky texture that’s essential for that true tiramisu feel.
- Savoiardi Biscuits: Also called ladyfingers, they have a light, crisp texture that absorbs espresso beautifully, adding depth and body to the truffles.
- Espresso Coffee: Brewed strong and cooled, it infuses the truffles with that classic coffee kick you expect from tiramisu.
- Powdered Sugar: Adds just the right amount of sweetness without overpowering the creamy and coffee notes.
- Cacao Powder: Used for dusting, it gives each truffle a slightly bitter contrast that perfectly balances the sweetness inside.
Make It Your Way
One of the best parts about these Tiramisu Truffles with Espresso and Cacao Recipe is how easily you can put your own twist on them. Feel free to experiment and make them truly your own delightful treat.
- Variation: If you love a hint of liqueur, try adding a teaspoon of coffee liqueur or Marsala wine to the cream mixture. It adds an elegant boozy note that complements the espresso beautifully.
- Dietary Twist: For a dairy-free option, swap the mascarpone with a coconut cream-based alternative. The texture changes slightly but still provides a luscious creaminess that works well with the espresso and biscuit base.
- Seasonal Flair: Stir in a pinch of cinnamon or nutmeg to the cocoa powder dusting. This adds a warm spice perfect for autumn or winter gatherings.
Step-by-Step: How I Make Tiramisu Truffles with Espresso and Cacao Recipe
Step 1: Brew and Cool Your Espresso
Start by brewing 3 tablespoons of espresso coffee. Let it cool completely—this is essential to keep the mascarpone from melting and ensures your final cream mixture is silky and smooth. I usually set mine aside while preparing the other ingredients.
Step 2: Crush the Ladyfingers to a Fine Powder
Next, blitz 12 savoiardi biscuits (ladyfingers) in a food processor until you get a fine, powdery consistency, close to cookie crumbs. This forms the base that will blend perfectly with the creamy mascarpone mix, giving your truffles that authentic tiramisu texture.
Step 3: Whip Up the Creamy Mascarpone Mixture
In a bowl, combine ⅓ cup of mascarpone cheese (room temperature works best) with 3 teaspoons of sifted powdered sugar. Then, slowly add in your cooled espresso and mix everything together thoroughly. The goal here is to achieve a luscious, smooth cream that's ready to envelop the biscuit base.
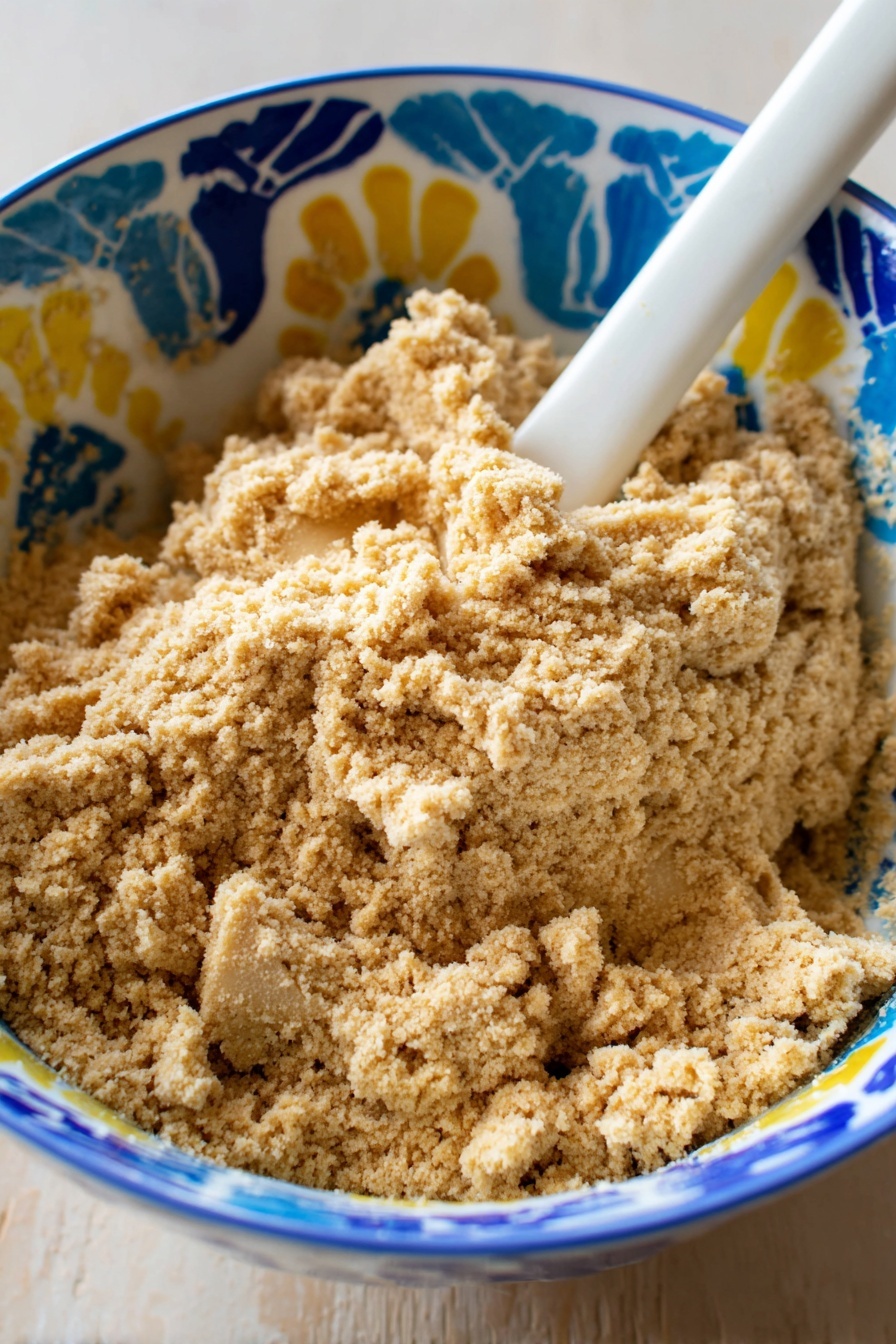
Step 4: Combine the Biscuit Powder and Cream
Gradually add your crushed ladyfinger powder into the cream mixture. Use a rubber spatula to fold everything together well until it forms a thick batter—think cookie dough that holds together but is still soft. This is the magic that makes your truffles rich and indulgent.
Step 5: Roll Into Beautiful Truffle Balls
Grab about a teaspoon of the mixture at a time and gently roll it between your fingers to form small balls. You should get roughly 10 truffles from this batter. Don’t worry if they’re not perfectly smooth—rustic charm adds to their appeal!
Step 6: Chill Your Truffles for the Perfect Texture
Place your formed truffle balls on a plate and refrigerate for 1 hour. This chilling time lets them set nicely while keeping a soft, creamy center. If you prefer a firmer bite, chill them longer or pop them in the freezer for 20 minutes before the final dusting.
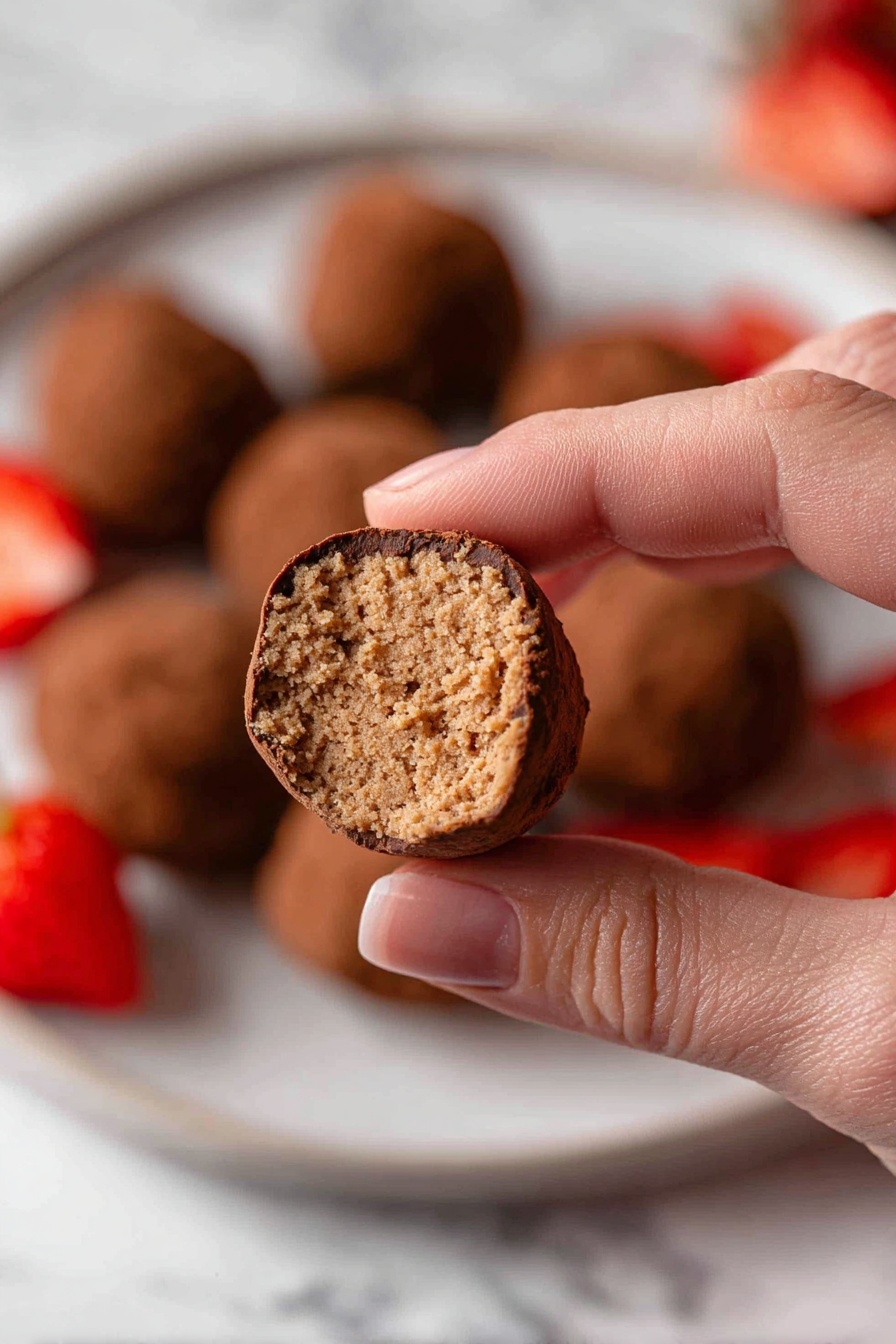
Step 7: Dust with Cacao and Serve
Finally, pour cacao powder into a small bowl and roll each chilled truffle until coated. This rich, bittersweet dusting not only adds a beautiful finish but also balances the sweetness inside. Serve them right away and watch how quickly they disappear!
- Keep the Espresso Cool: I learned the hard way that adding warm espresso to mascarpone causes it to loosen too much. Always let your espresso cool completely before mixing for a smooth, rich cream.
- Crush Those Ladyfingers Thoroughly: Blitzing the savoiardi biscuits into a fine powder helps the mixture bind together neatly, giving your truffles that irresistible cookie dough texture.
- Use Room Temperature Mascarpone: It blends more easily and evenly, creating silky-smooth truffle filling without lumps.
- Chill for Just the Right Amount: Setting your truffles in the fridge for about 1 hour gives a soft interior texture. I usually avoid over-chilling to keep them luscious and melt-in-your-mouth.


Leave a Reply